Pages

Wednesday, February 28, 2018

Finalized Vice Admiral Holdo Dye Info

Now that Vice Admiral Holdo is approved, I figured I'd share the process I followed to dye my fabric! Finding the right fabric is one of the most challenging parts of making a costume to Rebel Legion or 501st standards. Just when one costumer finds the PERFECT approvable fabric, it goes out of stock, or it isn't available in their country. . .  which is why I wanted to dye my own fabric, in hopes that others could reproduce my method. Dharmatrading.com ships internationally, so fellow Admirals won't be limited to what their local stores carry. (I would suggest international people find the salt locally, as that added a lot to the shipping cost, and would likely be astronomical if going outside the US).


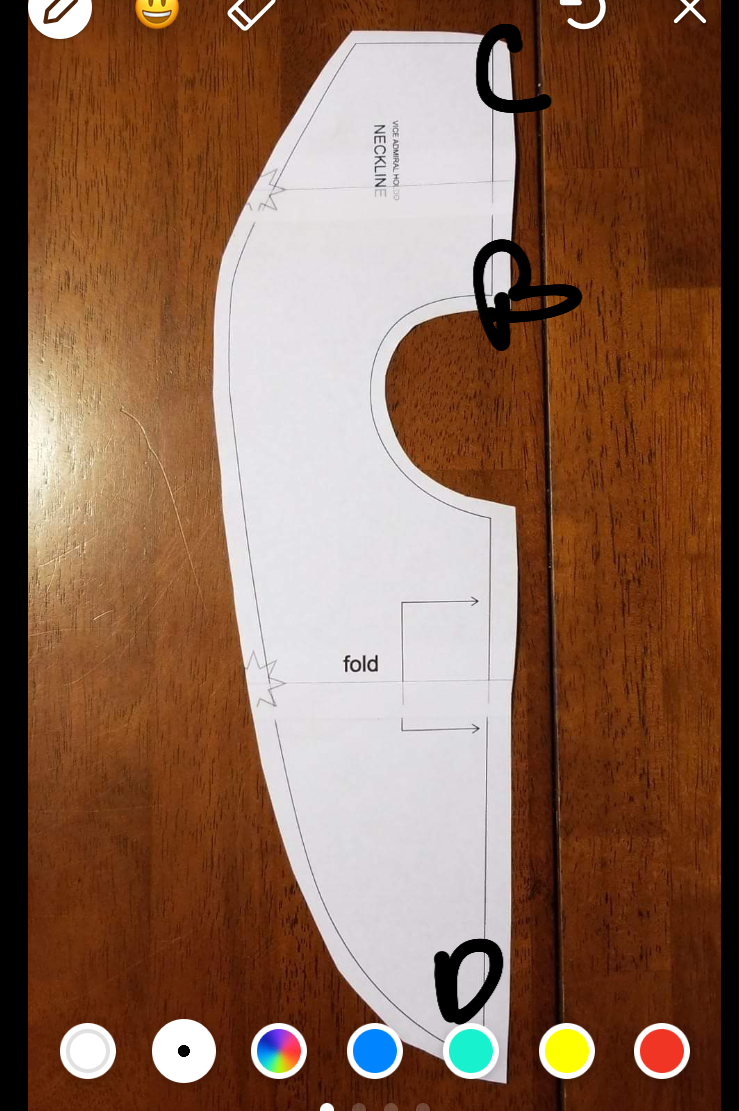
I started with 15 yards of Rayon Spandex Jersey Knit Solid White PFP  . It is a 58" wide lightweight Rayon/Spandex blend, with four way stretch. I actually used the "wrong" side of the fabric facing out, as I liked how the dye looked on that side better.

I used one yard for test dying. I cut the remaining part into two 7 yard lengths. I don't remember how I came up with that number. . . but 7 yards ended up being EXACTLY enough for my outer layer. I used 4 1/2 yards for the lining (I self-lined the dress front and back). The rectangular back drape had to be cut across the grain, and was 20" wide. (There were exactly 20" left of my outer layer fabric!!! Nothing like cutting it close!!!!) I used the full length of the fabric, 58", for the length of the rectangular drape.  So, if you wanted to cut your back drape with the grain, you'd need to add the length you wanted it to be to the yards of fabric you ordered.

I used Dharma's  Fiber Reactive Dye Yields Estimator to determine what I needed for each 7 yard length of fabric, based on weight, which was 4 pounds. I dyed each section separately. I used:


  • 36.28 g Shiitake Mushroom dye
  • 36.28 g Brazilnut dye (the calculator called for double that, but as I was combining I used this amount)
  • 12 gallons water
  • 12 cups salt (the dyer's salt from Dharma is totally worth it. It is non-iodized, and really fine, so it dissolved much more easily than kosher salt would have!)
  • 8 teaspoons Calsolene oil
  • 1 1/3 cup soda ash

Use the calculator to figure out the amount of dye for your fabric's weight. If you do an amount other than the 4 pounds I used, and your fabric is an even weight in pounds, you can use the amounts below to figure out your water, salt, soda ash, and calsolene oil.


Dry fabric LB1
dyeuse calculator!!!
Gal Water3
cups salt3
cups soda ash1/3 
tsp calsolene oil2


Here's what I ordered from https://www.dharmatrading.com/   . I followed their information on Basic Tub Dye Instructions with Fiber Reactive Dye .This was my first time dying anything, and those directions were critical!

Dharma Fiber Reactive Procion Dyes 1 Lb.
Size/Style/Color: 178 Shiitake Mushroom
Quantity: 1
$10.10

Dharma Fiber Reactive Procion Dyes 8 Ozs.
Size/Style/Color: 116 BRAZILNUT *
Quantity: 1
$12.14

Soda Ash Fixer 5lb.
Size/Style/Color:
Quantity: 1
$5.95

Milsoft 16oz
Size/Style/Color:
Quantity: 1
$3.95

Synthrapol Low Foam - Pint (16oz)
Size/Style/Color:
Quantity: 1
$4.95

Calsolene Oil 8oz
Size/Style/Color:
Quantity: 1
$3.65

OTHER SUPPLIES

  • I used this small scale to weigh the dye
  • I used my kitchen scale to weigh the fabric. I put a large clean bowl on the scale, zeroed it, and weighed my fabric.
  • Unless you want to dye your skin, you'll likely appreciate disposable vinyl gloves!
  • The taupe shade of these ankle boots was a SUPER close match to my final dye color! The sizes on amazon are currently pretty limited, but you might be able to search for "City Classified Women's Closed Round Toe Chunky Stacked Block Heel Ankle Bootie." These look like the same pair, but the color seems to be called "Deep Taupe."
  • I used a GIANT wooden spoon, similar to this, to stir the fabric in the bathtub of dye!


Saturday, February 24, 2018

Vice Admiral Holdo Pattern


Photo edit by https://twitter.com/dlscott1111
***5/28/2018 edit*** the fold mark is missing from the "neck over" piece! Also, here ar

***2/28/2018 edit****
Thanks to the awesome   Simon of http://www.simonphipps.com/  , here is a lovely digitized version of my Holdo pattern!!!! He took my scans below and got them to the correct size, then digitized the lines, which I was then able to plop into Inkscape and export into tiles in a printable PDF pattern! The above file is for 8 1/2 x 11" paper, and here is the A4 version.

***5/28/2018 edit*** the fold mark is missing from the "neck over" piece! Also, here are some pictures to help you see where the neck bits line up. A, B, and C on the Over piece end up becoming a straight line.


f


As I wait to hear on my Rebel Legion submission, I figured I'd share my pattern!

JenEyre's Vice Admiral Holdo Pattern  ****don't use this version!! Use the awesome version above!!!!*****

HOPEFULLY these patterns aren't distorted. I lined them up on a quilting cutting mat and "scanned" them using Notes on my iPhone. That allows you to select the corners and should, in theory, provide a final version that isn't distorted.

Please let me know how this actually worked if you try this out!


Here's an interesting option for resizing patterns  https://www.rapidresizer.com/home/2012/10/1/how-to-enlarge-a-pattern-by-percent-or-scale  . They have this free calculator tool, but also have a paid version that will tile your enlargement. If you google "enlarge pattern" you'll find tons of tutorials. I usually scan the pattern and import it into Inkscape (a free Illustrator type program). I have a paid extension , http://www.titchythreads.com/tools/inkscape_pdf_generator  that I use to tile and export patterns. If I had the time, I could import all my scanned pieces, size them up to the correct size, and export the pattern that way. I just have too much on my plate for that right now!


If you find my pattern helpful, please post pictures and tag me! ( @JenEyreCosplay on instagram, twitter, Facebook, or Vero)  I love knowing I was able to help!


Thursday, February 22, 2018

Supporting a Vice Admiral

Once you've conquered the problem that is Vice Admiral Holdo's fabric color, you may think you are in the clear. NOPE! Those gorgeous back drapes are HEAVY!


Essentially, I added 1" strips of elastic to support the weight of the back.

Many other Holdo costumers talked about putting a zipper down the center back. While I included a back seam, I didn't put a zipper. I attached the back left part of the neck piece, the part above the rectangle drape, to the back. I put one piece of elastic just to the left of the center back, and one as far to the left as I could put it while still keeping it hidden.


 Along the right side of the back, I added hooks on the edge, and flat eyes along the bottom of the neck piece. Below, you can see the hooks on the edge.

Here's a top view of the hooks and eyes. Note how the color looks totally different that in the above photo, and how I somehow ended up with an extra hook.....


Along the bottom edge of the right back neck, I added elastic. I sewed through the eye hooks into the elastic, so that when the back drape/edge is hooked, the elastic will be supporting it.

When I put on the dress, I have to wrap the right side around my neck to close it, as you can see below. 


To avoid any lines, I got a seamless bodyshaper to wear underneath. In order to keep the white elastic from showing, I safety pinned both sides in center front.


. Then, the longer two pieces get wrapped under the center of my bra, and pinned back on the elastic. I ended up using a strapless bra, to lower the risk that my straps show (might look for clear straps for the bodyshaper), and the elastic helps hold it up nicely. 
In the above picture, you can see approximately what it would look like. I use a giant safety pin, not a straight pin!

I left the ends of the right side elastic, the parts that go down the back, long. I thought I'd need to add hooks or snaps to anchor them, but I don't think that'll be necessary.


Godspeed Rebels!